Local mode
Local mode lets you connect story.to.design to your local Storybook during development for fast iterations of your Figma components and Figma variant properties.
It’s particularly useful if you are embedding your Figma variant properties in your stories and want to iterate over the results in Figma quickly.
Requirements
Local mode requires:
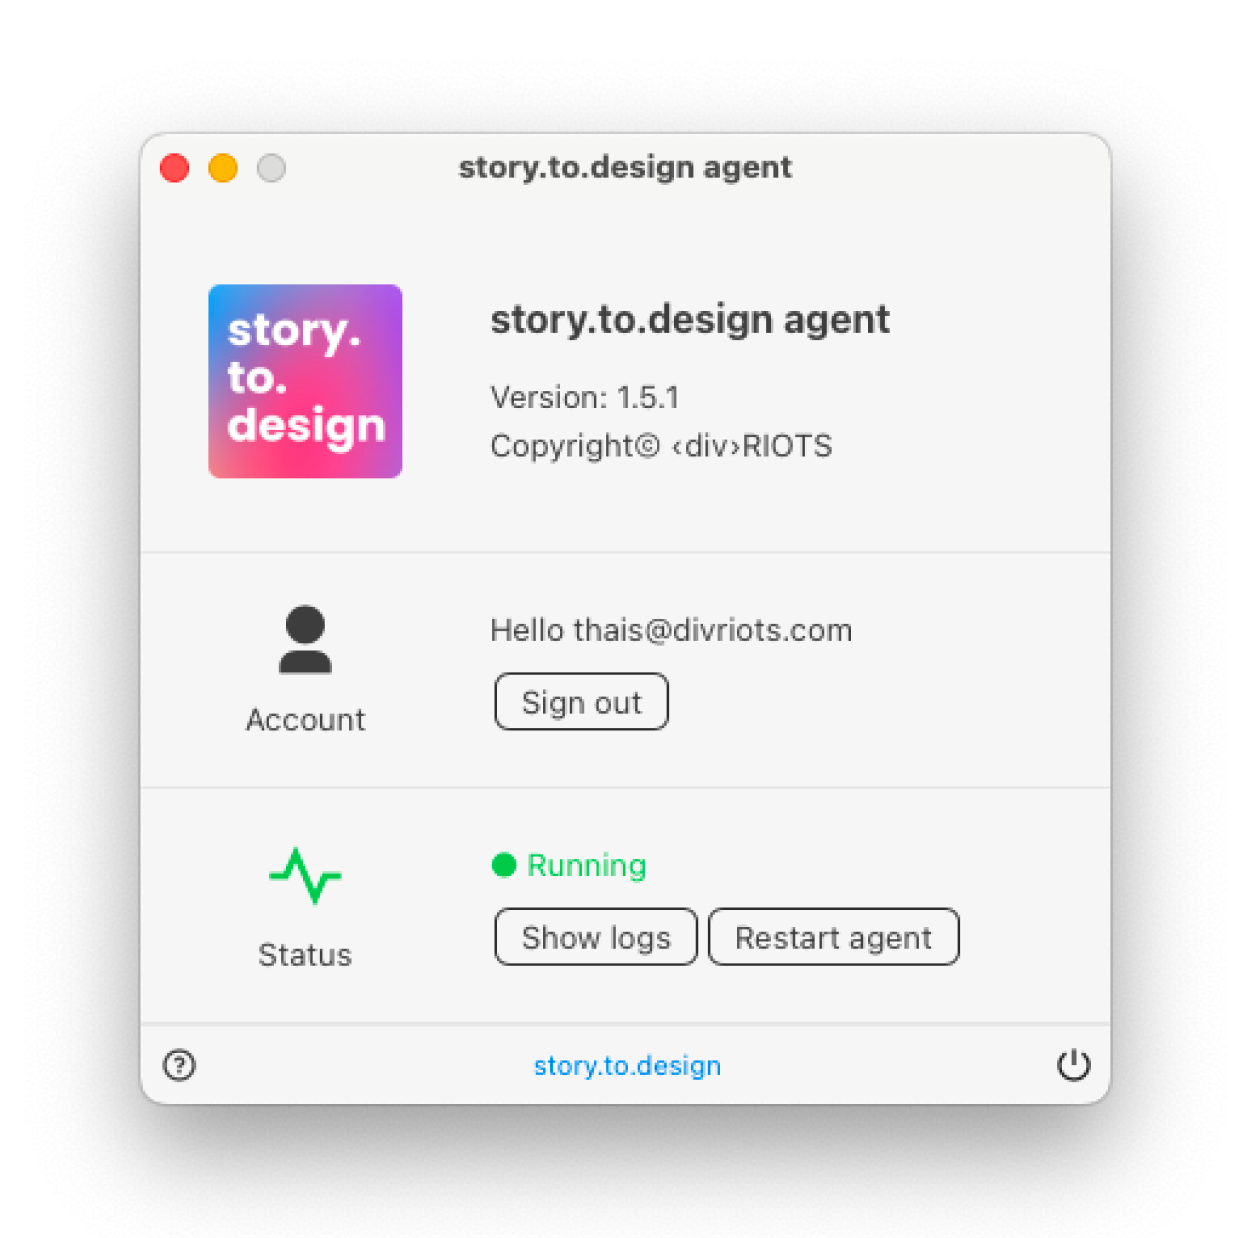
- The story.to.design agent must be installed and running on your computer.
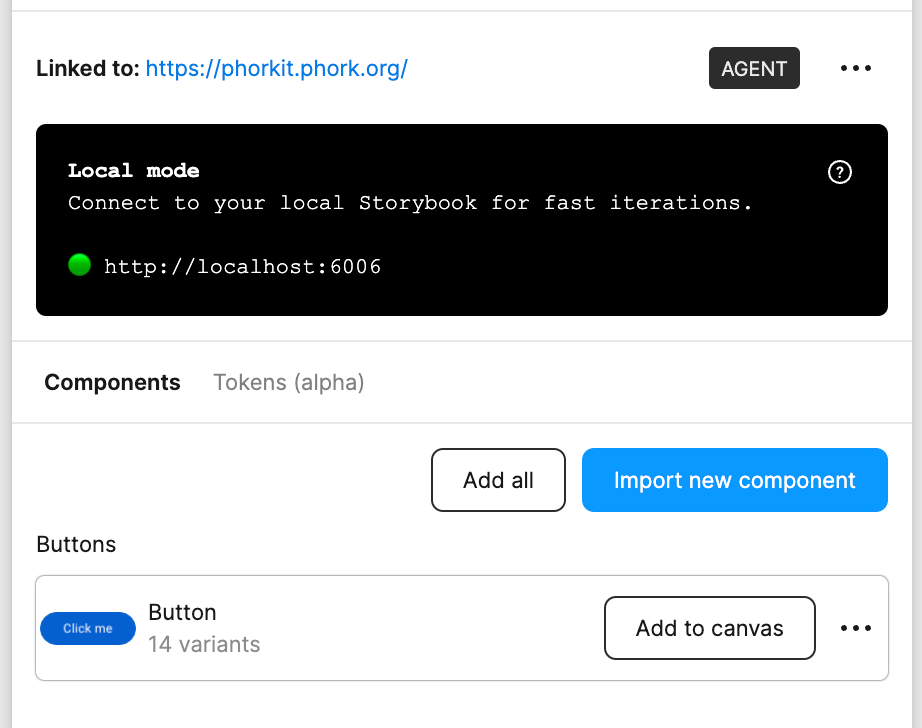
- Your local development Storybook must run on
http://localhost:6006(this is hardcoded today).
Local mode’s Refresh canvas
requires that you keep the Figma plugin open until the end of the
process otherwise the updates will not be applied to the canvas.
How to use Local mode with Storybook
-
First, run your Storybook locally on your device. This is usually done via the command
npm run storybook, depending on how you’ve decided to configure it. -
Connect your local Storybook to the plugin via the story.to.design agent.

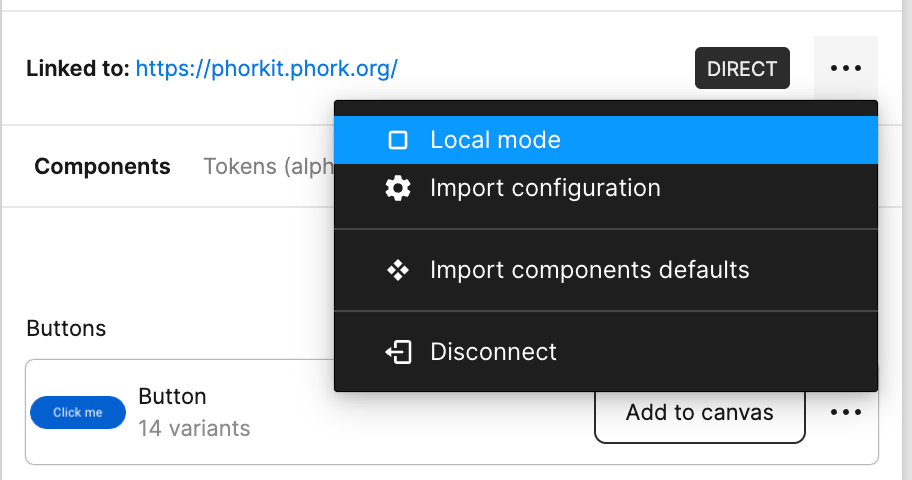
- Now, you want to experiment with a few changes to some components, and instantly see them reflected in your generated UI library in Figma. Or, you have “hardcoded” your Figma variant properties in your stories and want to iterate on them to also see the results directly in Figma. To do this, simply turn on
Local modevia the ellipsis menu in the top right corner.

- Once you’ve made your iterations in your local Storybook code, go back to Figma and you’ll see that the button next to your imported components will now say
Refresh canvas. Click on it for whichever components you wish to update with your new code changes.

- Done! You’ll now see the changes you made to the local version of your Storybook reflected on your Figma canvas.
Since the generated UI library is synced to your production Storybook, any local iterations you push to Figma via Local Mode will override this sync. To avoid losing the connection between Figma and your live Storybook, we recommend creating a different file for your experiments, or using Figma’s branching feature.